
Prepare a small practice image
Choose a photo you own or have permission to edit. Make a duplicate and keep the original. A reasonably sized PNG or JPEG helps you learn the workflow before testing large or complex files. Use a current desktop browser with WebGPU or WebGL2 and allow hardware acceleration.
The exercise is complete when you have both a checked image export and a saved editable document, if you want to change the caption later. There is no prompt-writing step: this deployment provides PhotoCraft editing tools and has no generative AI service.
Save throughout the session. This browser build is early alpha and has no autosave or crash recovery. Returning to the homepage keeps the current editor mounted, but a reload, fresh navigation or closed tab can lose unsaved work.
Open the PhotoCraft workspace
Use Open Editor to go to the PhotoCraft homepage, then select Open Editor on that page. A full-window workspace appears, shows a loading screen and starts the live editor. The homepage preview is an image; it does not download the editor engine while you read or scroll.
Wait until the PhotoCraft canvas and menus appear. The first launch downloads the app files, so its startup can take longer than opening the reading page. You do not need an account or a desktop installation.
The address changes to include view=editor. Once the editor is working, bookmark that address if you want future visits to open the workspace directly. The ordinary homepage address still shows the preview and site content.
Open your practice photo
Choose File → Open and select the duplicate photo from your device. You can also use the Open button on PhotoCraft's starting canvas. Check that the photo appears and identify its layer in the Layers panel.
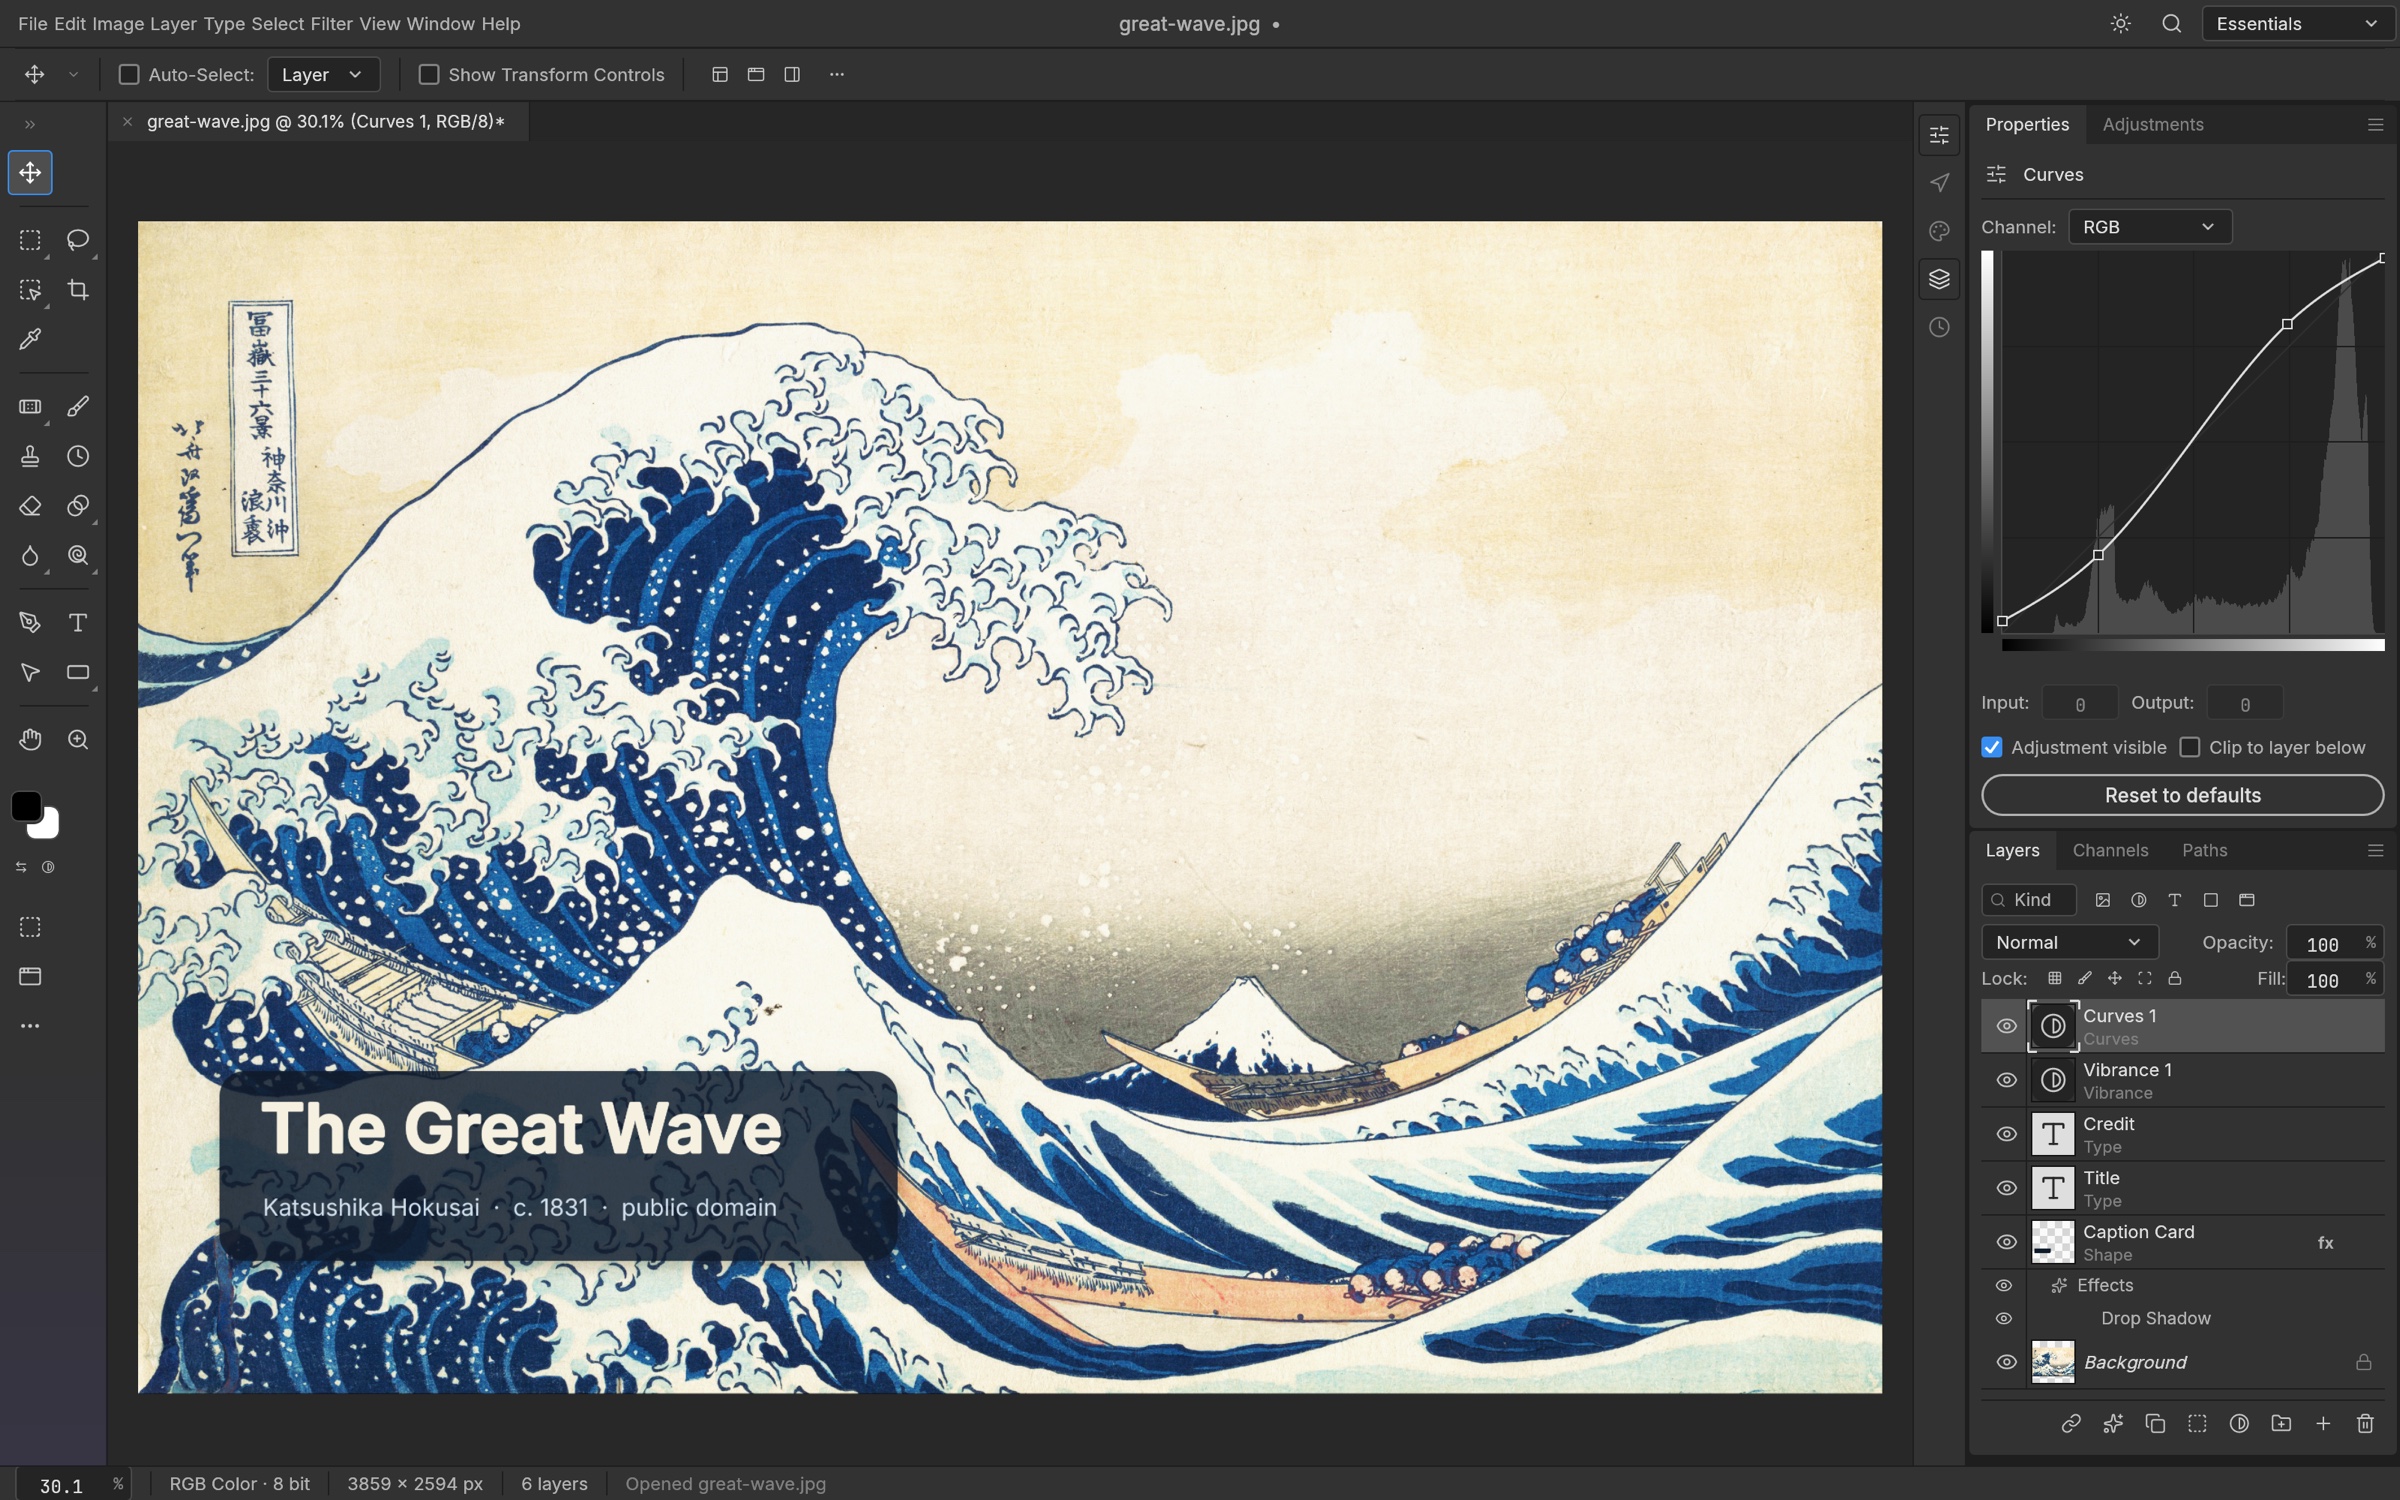
Take a moment to locate the left toolbar, the canvas and the right-side panels. Selecting a tool changes the options available above the canvas. Selecting a layer tells the editor which part of the document you intend to change.
If you started with a PSD, inspect the text, masks and effects before editing. Keep the source file and compare with a trusted preview. Opening a PSD successfully does not guarantee that every feature will look or behave exactly as it does in Photoshop.
Add a short caption on its own layer
- Select the Type tool in the left toolbar, then click an open area of the photo. If the T icon is out of view on a short screen, use the toolbar chevrons to switch to two columns.
- Enter a short caption. Choose an available font, a readable size and a color that stands out from the background.
- Finish editing the text and select the Move tool to position the caption. Leave space between the words and the image edges.
- Inspect the Layers panel. Keep the caption on its text layer so you can change it without repainting the photo.
- Toggle the caption layer's visibility to compare the image with and without the text. Use Edit → Undo if you need to reverse a change.
A caption over a detailed background can be difficult to read. Try placing it over a quieter area first. Make one change at a time and check the canvas before adding more elements. This exercise teaches layer selection, text editing and positioning without relying on complex file compatibility.
Save the document, then export a copy
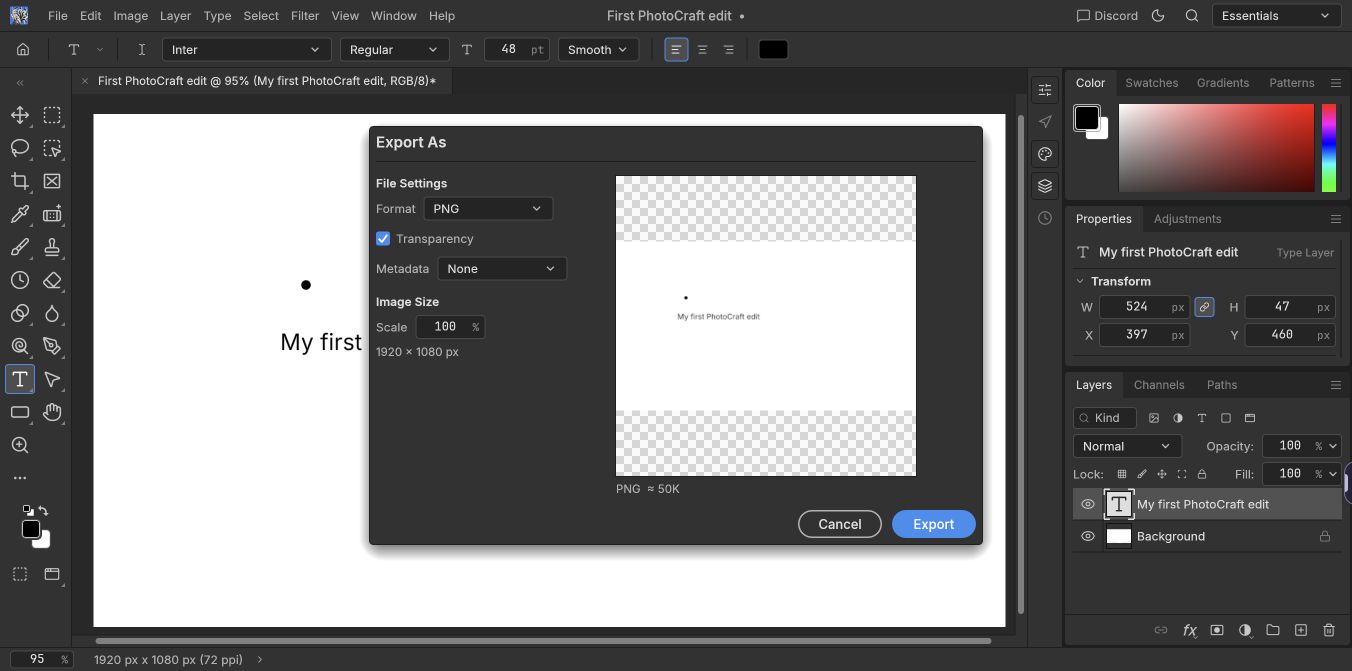
Use File → Save As to save a supported editable document if you want to revisit the layers. Keep it separate from the original. Then choose File → Export → Export As for a finished image. Start with PNG for a simple output, or choose JPEG when it suits your photo-sharing task.
Check the export options before confirming. Choose the intended image dimensions and, where available, quality or transparency settings. Download the file to your device and open it outside the editor. Check that the caption is present, the edges are not cut off and the image has the dimensions you expected.
Reopen the saved editable document if preserving layers matters to you. An exported image is a finished picture; it does not necessarily preserve the editable layers. Keep both files when you need a shareable image and a project you can revise.
Use full screen and the movable logo
The workspace fills the browser window when you launch it. Look for a small green edge at the side of the window. Hover over it to reveal the PhotoCraft logo, or tap it on a touch device. Click the logo to open its controls.
- Full screen: request browser full screen from the menu. If your browser supports it, the browser's own chrome disappears. Press Escape to exit browser full screen.
- Home page: return to the site content while keeping the current editor session mounted. Reopening the workspace on the same page preserves the canvas.
- Direct editor link: bookmark the parameter URL for your next visit. It reopens the full-window workspace; browser full screen still requires a user action.
- Move the logo: drag it to the left or right edge and to a comfortable height. It remembers the position in this browser and tucks away when idle. Keyboard users can focus the logo and use Alt plus the arrow keys to reposition it.
Clicking the editing area dismisses the controls. Save before leaving the tab, even if you have just returned to the homepage. A direct editor bookmark starts the editor; it does not restore an unsaved document from an earlier visit.
If something does not look right
The editor stays on its loading screen.
Allow time for the first app download and check your connection. Try a current desktop browser with hardware acceleration enabled. The homepage FAQ provides WebGL and CPU compatibility-mode links. Save any working document before trying a new mode or reloading.
The text or another edit affects the wrong element.
Check the selected layer in the Layers panel and the active tool in the toolbar. Finish any active text edit, select the intended layer and try one small change. Use Edit → Undo to reverse an unwanted change before continuing.
A PSD looks different from its original preview.
Check fonts, text, layer effects and masks. Early-alpha compatibility can differ on complex documents. Preserve the original PSD and test a copy. If the document's exact appearance is essential, use an application that correctly supports the features it contains.
The downloaded image is missing a layer or caption.
Check layer visibility on the canvas and confirm the export settings. Export again under a new filename, then open that new file to avoid mistaking an older download for the current result. Keep the editable document until you have checked the finished image.
I cannot find Generative Fill or AI photo generation.
Those services are not included in this deployment. This AI Photoshop Clone tutorial covers manual editing in PhotoCraft. Read the guide to the names and capabilities before choosing the tool for a generative task.
Build on a complete first edit
Once you have checked your exported captioned photo, try changing the caption in the saved document. Then explore a single adjustment layer or mask on a practice copy. Learning one tool at a time makes it easier to understand what changed and to undo it.
For capability and compatibility context, return to the AI Photoshop Clone guide. For source documentation and desktop downloads, consult the upstream v0.8.2 documentation and official release.